Wacky Art: Raised Salt Paintings

By Colie Haahr, CMNH Educator
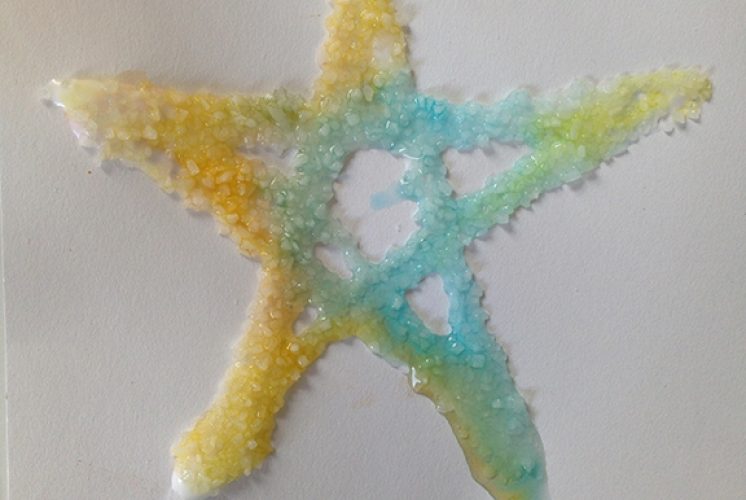
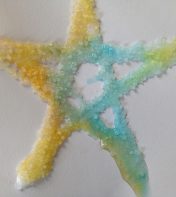
This fun art project can double as a science project! Kids make designs with liquid glue, add salt, then carefully add some colors and watch what happens! The liquid water colors should be absorbed by the salt, and move along the glue and salt design right before your eyes!
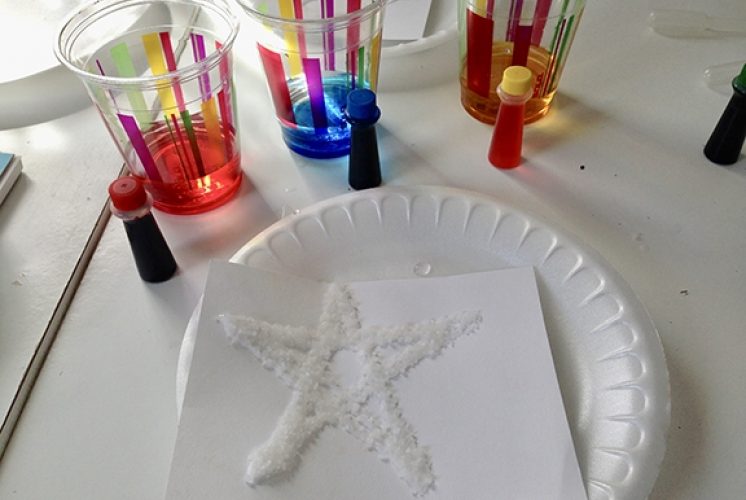
Materials Needed:
- Card stock or thick paper, construction paper works
- Tray or plate work surface
- Salt in a dish with a spoon to scoop it
- Liquid glue - that kids can use on their own
- Liquid watercolors or food coloring mixed with water
- Pipette, eye dropper, or spoon
Directions:
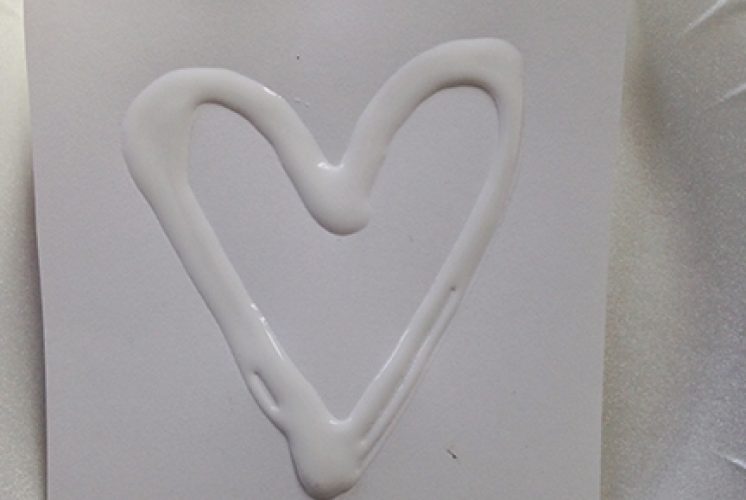
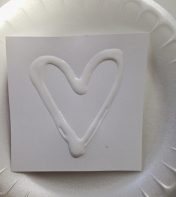
- First, make a design on the cardstock using only glue- lines work well!
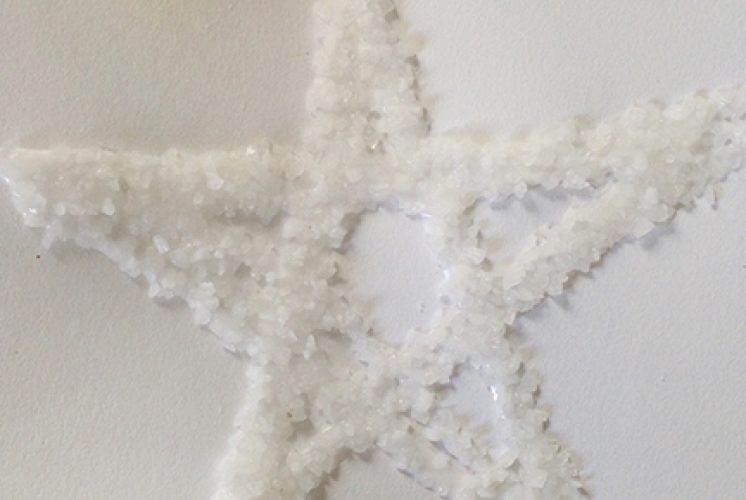
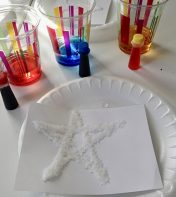
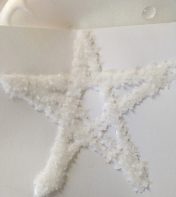
- Next, add salt to the glue so that the glue design is covered in salt. Gently pour the extra salt back onto your tray or into the trash. Similar to what you would do with glitter and glue- you want the salt covering all of the glue
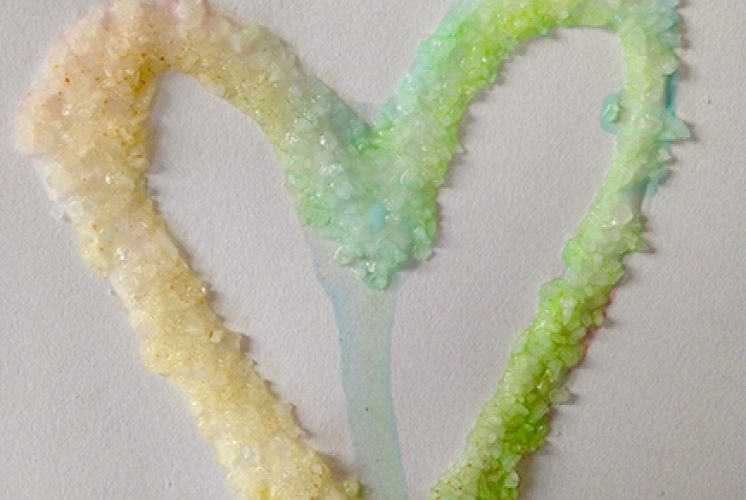
- Use the pipette to carefully add colors to your design. Only add a little bit of color at a time so you can see the colors move. Only add color to the glue.
- The color should magically spread on your design as the salt absorbs the liquid
- Let your project lie flat to dry, otherwise the colors will spread where there is no glue!
Experiment:
- Here are a few ideas you can try to make this art project into an experiment:
- Try using different kinds of salt, and see which kind works best (larger or smaller grains). Make a prediction before you try each one!
- Try this project with sugar and with salt (use the same design for each), and see which works better, or if sugar works at all.
- Try color mixing by using primary colors to do the project. Can you get them to mix? Why or why not?
Links:
www.cbc.ca/parents/play/view/art-science-salt-glue-watercolour-experiment