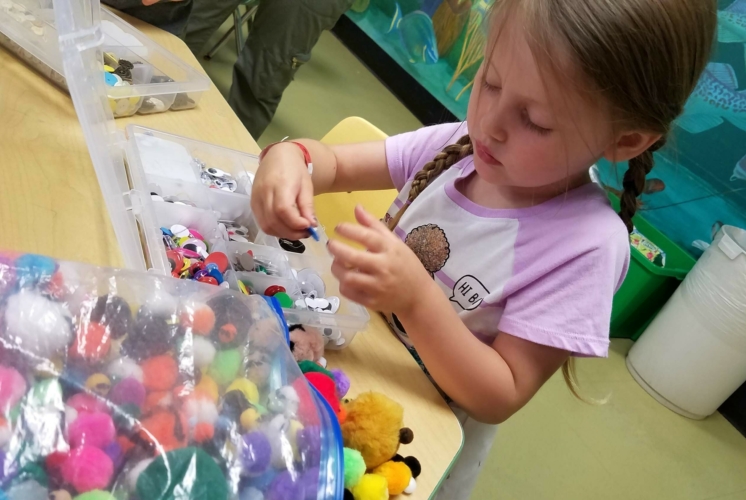
The Museum Blog
Category: Learning
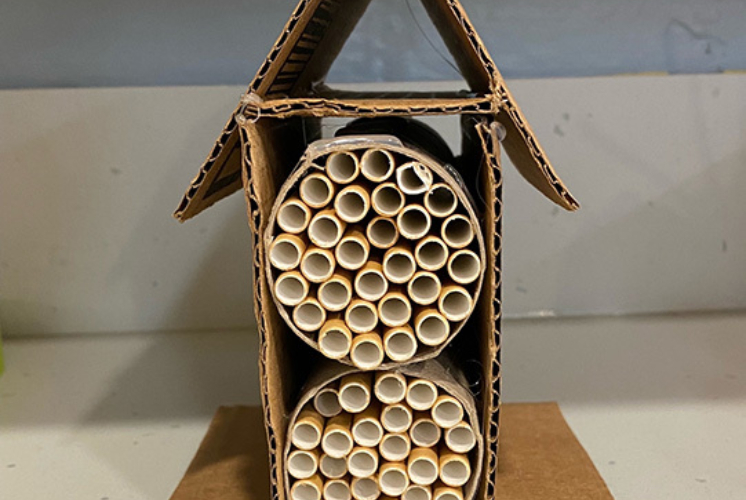
DIY Bee Condo

By Megan Beach, CMNH Educator
Did you know that you can build a homemade house for bees to live in? Although bees will make their own hives in places like hollow trees, or by burrowing in the ground they also will move into a bee condo, that you can make at home with just a few materials.
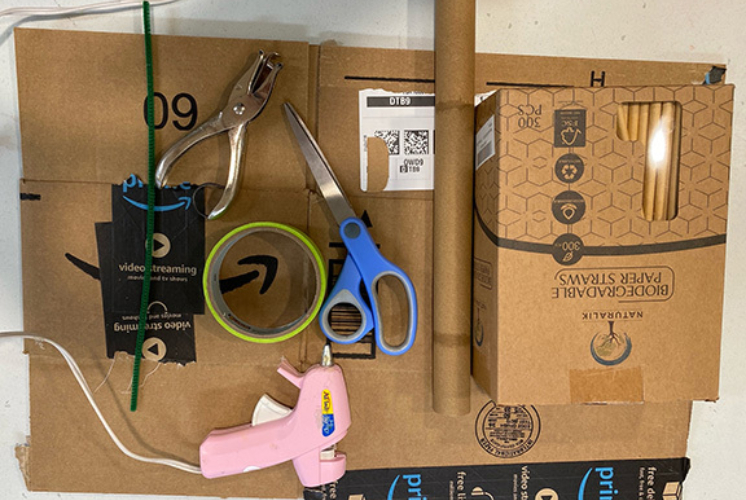
What you need to make a bee condo:
- Cardboard pieces, or heavy card stock
- Empty paper towel roll cut in half
- Paper straws (important that they are not plastic)
- Scissors
- Masking tape
- Hot glue gun (Make sure to get a grown-up to help)
- Hole punch and pipe cleaner or string
Bees find a house made out of a bundle of paper straws with one side blocked off to be a welcoming place for a home. They also prefer darker colors for their houses (it reminds them of trees) so using a brown cardboard box or dark paper works the best.
Instructions:
- Trim straws to the length of your cut paper towel roll and bundle them together with tape.
- Once straws are bundled and taped fill the tube with them and secure with glue if needed.
- Cut pieces of cardboard to fit securely around tubes in the shape of a house or tent to your liking and use the hot glue gun to fasten them together.
- Make sure to add a piece of cardboard to the back to cover one side of your bee condo.
- Use hole punch to string the pipe cleaner through the top of the house for easy hanging.
Optional:
Add moss, leaves or pinecones to the roof or any empty areas of your bee condo to help them feel more at home!
If bees do make a home in the condo be sure to not disturb them. Leave the bees alone so they can pollinate plants for us and make honey!
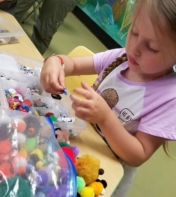
2021 NH Maker Fest is Back for More Hands-on Discovery
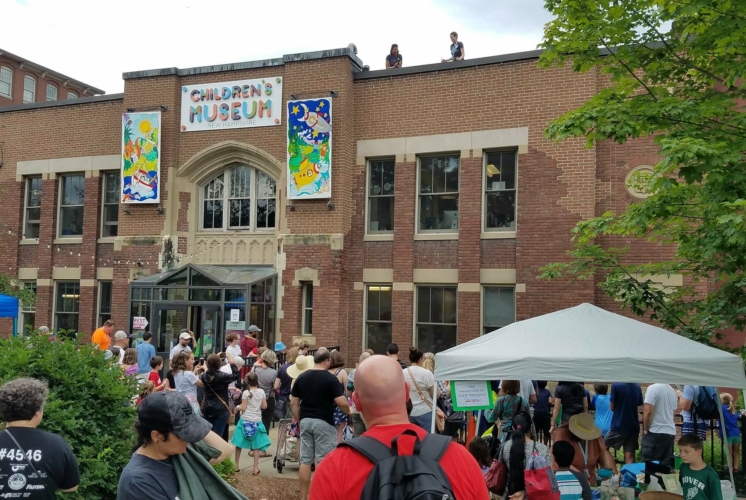

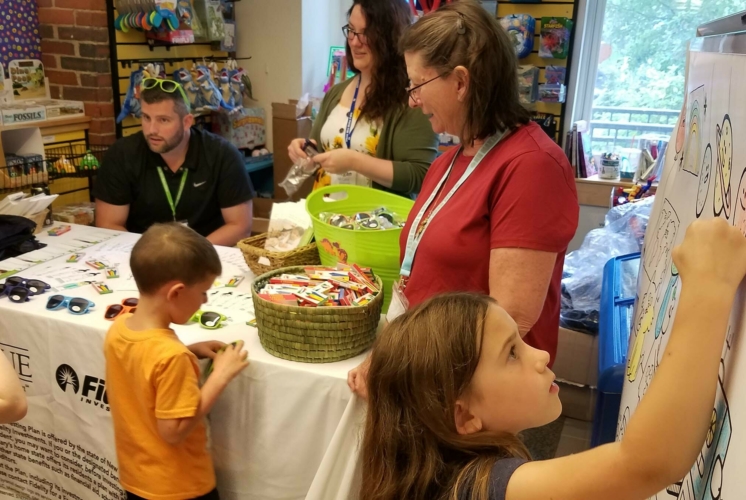
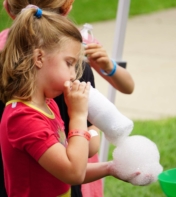

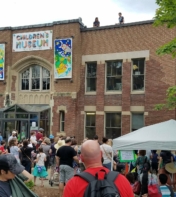
The Children’s Museum of New Hampshire is once again organizing and hosting the annual NH Maker Fest on Saturday, September 18th from 10am-3pm, inside and around the museum. Generous lead sponsors including Sprague, the Unique College Investing Plan managed by Fidelity, and Kennebunk Savings Bank have made it possible to have this year’s festival entrance be by donation. “We’re grateful to all our sponsors for helping to make this year’s festival the most accessible one yet,” shared CMNH President Jane Bard.
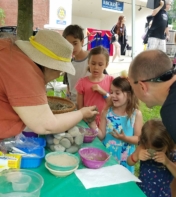
The NH Maker Fest is a day long festival that invites all ages to explore the creativity and ingenuity of area makers, hobbyists, artisans, performers and more. “Much like the Children’s Museum’s of NH mission, which is to actively engage families in hands-on discovery, the NH Maker Fest is a great opportunity to experience a ton of local innovation and resourcefulness all in one place,” said Neva Cole, CMNH Communications Director.
Participants in the Fest vary from year to year, and Maker applications are still being accepted. Lindsey Castellon, owner of Angry Gato Designs, is excited to participate for the first time this year, and will not only be selling her fantastical laser-cut works of art, illustrations, jewelry and more, but will also be showing guests how to make their own fabric scrap garland. Local podcaster Laura Harper will be on hand with her friends from the Creative Guts podcast, and will be inviting folks to stop by and record answers to a few of their creative questions. Recordings from the Fest may even be used in a future episode of Creative Guts!
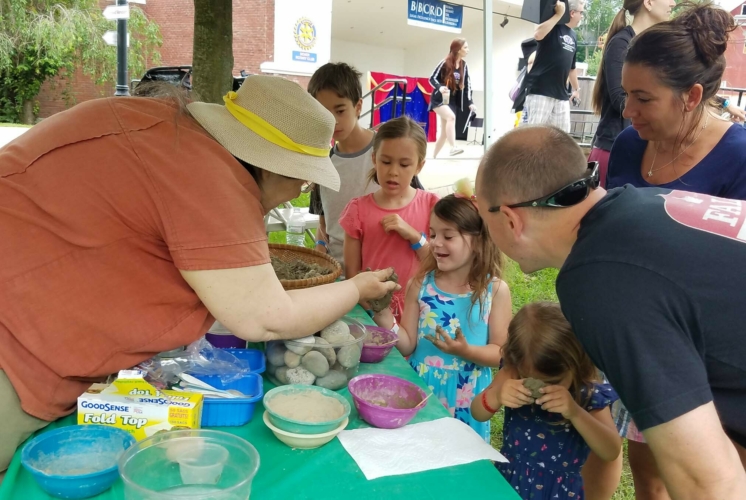
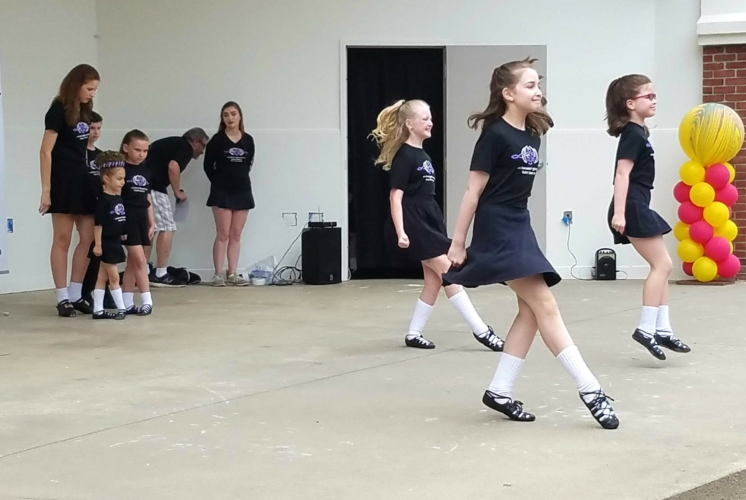
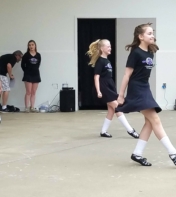
NH Maker Fest alumni will include the Maker Lab at the Dover Library, who are always popular with guests because of their creative activities, as well as the talented students of the McDonough-Grimes Irish Dance group who will be performing on the Rotary Arts Pavilion stage in front of the museum. Also back again this year is the FIRST LEGO League team from the Dover Middle School who will not only show off their robots, but help guests code and operate a robot to complete missions of their own.
Interested Makers also have the option of participating virtually through pre-recorded videos, online workshops, blogs and more. “We went totally virtual with the Fest last year, and we wanted to offer that option to people again this year since it was a lot of fun, and an easy way for people to show off their talents,” shared Cole.
Also new this year, the Fest has partnered with the Cochecho Arts Festival, organized by the Dover Chamber of Commerce. Magic Fred, a children’s magician will perform from 10-10:30am, and then The Kenney Brothers Band, a folk rock band, will perform from 3-4pm as the culmination of both the NH Maker Fest and the Cochecho Arts Festival summer concert series. Both performances will take place on the Rotary Arts Pavilion at Henry Law Park and the stage sponsor is Burns, Bryant, Cox, Rockefeller & Durkin, P.A. “We are excited to partner with the Children’s Museum of New Hampshire to provide entertainment for the NH Maker Fest,” says Greater Dover Chamber of Commerce President Margaret Joyce. “This is a natural extension of our summer-long Cochecho Arts Festival and allows us to celebrate the arts with Maker Fest attendees.”
The museum would like to thank all its NH Maker Fest sponsors including Sprague, Unique College Investing Plan Managed by Fidelity, Kennebunk Savings Bank, Albany International, Alexander Technology Group, Beswick Engineering Company, Inc., QA Cafe, The Rowley Agency, Loftware, Martel Plumbing & Heating, and NHPBS. To learn more about the Fest, to support this event, or to apply as a Maker, please visit this page.
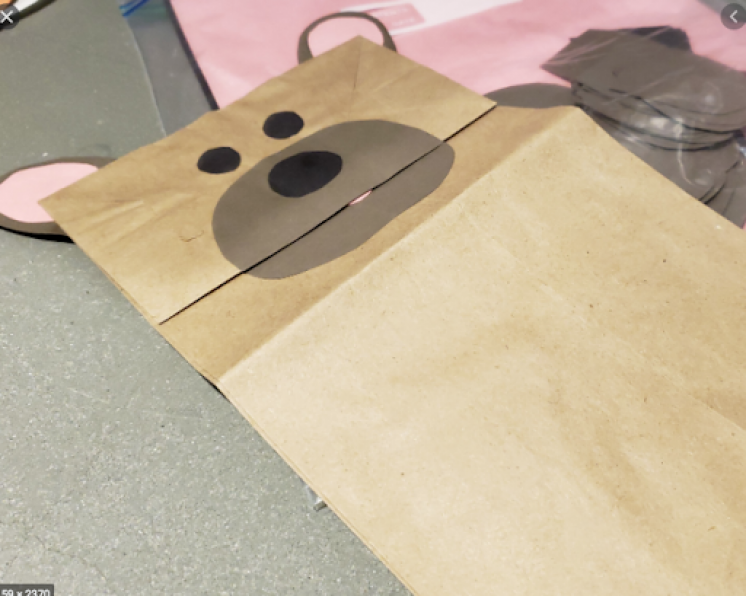
Books Alive: Bruce the Bear puppet
Make a Bruce the Bear bag puppet!
Bruce the Bear was our special guest for Books Alive & Story Explorers this month. We read “Mother Bruce” and enjoyed the story of Bruce mothering a group of baby goslings!
There are lots of other Bruce the Bear books by local Maine author Ryan T. Higgins -you can check them out at your local library and learn about Bruce’s other adventures!
To make your own Bruce the Bear puppet to bring on adventures, follow these instructions:
Materials Needed:
- Small paper bag
- Two small paper circles (for his ears!)
- One paper triangle or circle (for his nose!)
- Glue or tape
- Markers or crayons
Instructions:
- Place your paper bag on your work surface so that the square bottom is facing you and turned upwards (This will be the head/mouth of your puppet!)
- Use your glue or tape to attach the ear and nose pieces
- Decorate your puppet with markers or crayons!
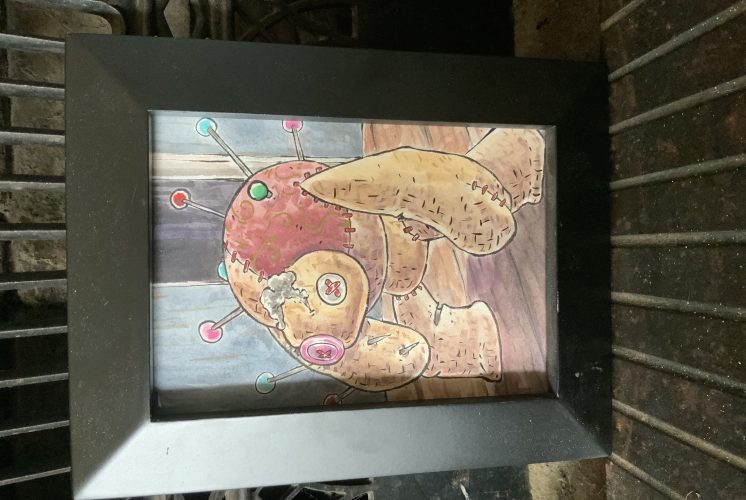
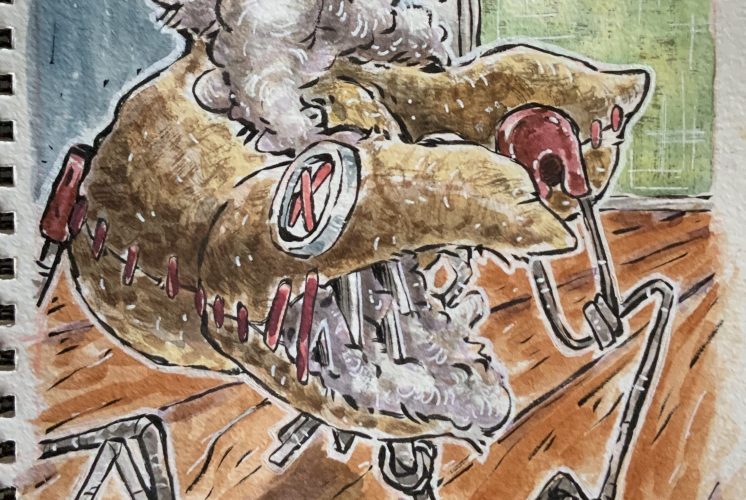
Spooky Science: Disappearing Ghosts
Disappearing Ghosts
Materials Needed:
- Biodegradable packing peanuts (made of corn!)
- Dark colored marker
- Pipette or paintbrush
- Small cup of water
- Tray/plate/cookie sheet
Instructions - Set-up:
- Use your marker to draw ghosty faces on several biodegradable packing peanuts
- Invite your young scientist(s) to draw some faces, too!
- Place ghosts, small cup of water, and pipette on a tray, plate, or cookie sheet
Instructions - Activity:
- Explain to young scientists that today they are going to make some ghosts disappear!
- Invite them to touch the ghosts and guess what material was used to make them
- Talk about the texture, the weight, and ask if it reminds them of anything they’ve seen/touched before
- Show them how to use their pipette and tell them to carefully drip some water onto their ghosts
- What happens?!
- You can also use a paintbrush to carefully drip water
- What happens?!
- Eventually they will notice that their ghosts are shrinking and “disappearing” into a pool of water!
- Ask them what happened? How do they think that happened? Do they think the ghosts really disappeared? Where did they go?!
The Science:
Although it may have LOOKED like the ghosts were disappearing, they were actually dissolving! The packing peanuts are made of corn, which dissolves in water. If you put a handful of these packing peanuts into a jar of water and shook it, they would completely dissolve--leaving some cloudy white water behind.
Packing peanuts are traditionally made of styrofoam which takes millions of years (we think!) to biodegrade and become dirt in the earth. These packing peanuts biodegrade almost instantly, making them much more environmentally friendly--and they also make an awesome science experiment!
Bonus Activity: Monster Ice!
Can’t get your hands on biodegradable packing peanuts? No worries! Try this fun experiment instead.
Materials Needed:
- Plastic container (freezer safe)
- Water
- Googly eyes or other Halloween trinkets (spider rings, erasers, etc)
- Small cup with warm salt water
- Pipette or paintbrush
- Tray or cookie/baking sheet
- Red & yellow food coloring (optional)
Instructions - Set-up:
- The night before the activity, or several hours before, put water into your plastic container.
- Add yellow and red food coloring to make orange, if you’d like
- Put in the googly eyes or other Halloween trinkets
- Freeze!
- Place plastic container with ice* on a tray with cup of warm salt water & pipette/paintbrush
- *You might be able to get the ice out of the container, if not--start with the ice still in the container and as young scientists add water & salt, you will easily be able to get the ice out!
Instructions - Activity:
- Invite young scientists into the experiment area
- Ask them what they see!
- Encourage young scientists to use the pipette or paintbrush to drip warm salt water onto the ice and “free” the halloween trinkets
- Ask: What is happening?
- Mention that the water is warm and has salt in it--ask how they think this might help to melt the ice
- Continue adding water until the trinkets are unfrozen!
The Science:
- Salt lowers the freezing point of water. Ice melts faster when salt is added as the salt lowers the freezing point of the ice, this is known as freezing point depression. The more salt you add the lower the freezing point.
- This is why we use salt on roads in the winter to help melt the ice and make them safe!
Spooky Sparks
by Meredith Brustlin, CMNH Educator
Materials Needed:
- Oven safe dish - reusable or disposable aluminum
- Steel wool
- 9V battery
- Jug of water - just in case!
Instructions & Safety:
- Since this activity does produce smoke, you may want to set-up outside. Just be sure if you do this experiment outside that it is not a windy day.
- I did this experiment inside my house several times and there was not enough smoke to set off any smoke detectors! HOWEVER I had coarse grade steel wool so the circuits & smoke were far less significant. If you have FINE grade steel wool, do this experiment outside.
- If you have young scientists--do this experiment as a demonstration (“I’m going to do it, and you get to watch!”)
- If your scientists are older, they can do this experiment but make sure they are closely supervised.
- The steel wool produces sparks & fire
- The 9V battery will eventually get fairly warm to the touch.
Set-up:
- Pull apart your steel wool so that it is in a very thin layer
- Place the steel wool into your oven safe dish or container
- Place the battery and jug of water nearby.
Activity:
- Take time at the beginning of this experiment--whether you are doing it as a demonstration or young scientists are participating--to discuss safety.
- Ask scientists what they see. Invite them to feel the steel wool. What does it feel like? Does it remind them of anything?
- Explain that today you are going to make spooky sparks by creating circuits within the steel wool.
- Use the battery to gently touch down on the steel wool---watch as sparks fly through the steel wool creating a chemical reaction!
- Keep creating circuits! Eventually you will “use up” all the steel wool and the circuits won’t work anymore. Also be conscious of the battery warming up--it’s working hard!
The Science:
We are seeing a chemical reaction take place in this experiment, Anytime something burns, we are seeing a chemical reaction! This type of chemical reaction is called a combustion reaction.
You are seeing the steel wool react with oxygen and in this case it is forming iron oxide.
We were also seeing circuits at work! When both battery terminals touch the steel wool, the electrons from the battery move rapidly through the steel wool and make a complete circuit. This electrical current is heating up the wire (to ~700 degrees!) and this heat causes the iron to react with the oxygen surrounding the little strands of steel wool. This reaction is what causes the sparks (homeschoolscientist.com).
Bonus Activity: Fizzy Pumpkins
Materials Needed:
- Baking Soda
- Water
- Red & yellow food coloring
- Small piece of cardboard
- Tray or cookie sheet/pan
- Pipette or paintbrush
- Small cup of vinegar
Set-up:
- Make your fizzy pumpkin!
- Measure out about ½ a cup of baking soda into a bowl
- Slooooowly add water until the baking soda comes together to form a moldable paste
- Add yellow and red food coloring to make orange and mix together
- Use your hands to shape the baking soda into a ball
- Push in the piece of cardboard in the top to look like the stem of a pumpkin
- **You can either make your pumpkin immediately before doing your experiment, or make it the night/several hours before**
- If you make it right before your pumpkin will be “mushy” but still hold its shape
- If you make it hours before doing the experiment, the baking soda will dry out and become hard as a rock!
To set-up your experiment area, put the pumpkin on a plate or tray and set the cup of vinegar and pipette/paintbrush nearby.
Activity:
- Invite young scientists into the experiment area
- Ask them what they see!
- If you’d like, you can tell them they can carefully touch the pumpkin with one finger and guess how it was made/what material was used to make it.
- Introduce the vinegar and pipette/paintbrush and tell young scientists to carefully drip some vinegar onto their pumpkin
- What happens?!
- Keep playing until the pumpkin turns into pumpkin mush!
The Science:
This is a classic acid and base experiment. When vinegar (an acid) interacts with baking soda (a base) we get a chemical reaction. In this case we’re producing a gas (carbon dioxide) and lots of fun fizzing and bubbles!
Spooky Science: Frankenstein's Hand and Fizzy Pumpkin Art
by Colie Haahr, CMNH Educator
In this Spooky Science Video we make Frankenstein's "hand" come to life with a simple chemical reaction! We also demonstrated an art project using the same materials to make fizzy pumpkin art. Most of the materials for this project can be found at home, and though it's a bit messy, these are both activities that children can try on their own with just little help from a grown-up.
Frankenstein's Hand Experiment
Materials needed:
- Cup
- Disposable glove
- Baking soda
- Lemon juice or vinegar
- Tray or pan
- Scoop or spoon
Set up:
Put all the materials on a tray or another surface that can get wet. This is a good activity to try outside for an easier clean up. The ingredients we are using are actually used for cleaning, which means they should not stain surfaces. A tray is best if you have one. If desired you can pour the lemon juice or vinegar into the cup ahead of time, or children can help with this step.
Experiment:
- Place the cup on the tray, and fill it about ¼ of the way up with lemon juice or vinegar- this experiment works with either one
- Use a spoon to place a few scoops of baking soda into the glove
- Shake the glove so that the baking soda moves down to the fingertips
- Carefully place the glove on top of the cup by stretching the elastic opening of the glove around the mouth of the cup- the fingertips should be hanging down still
- Be sure there’s a tight seal between the glove and cup- if not, hold the glove in place
- Tip the glove upright so that the baking soda drops down from the fingertips into the cup
- Watch the glove! It should start to inflate quickly as the baking soda reacts with the lemon juice inside the cup
Optional Alternative way to do this experiment:
If you do not have a glove handy you can also do this same experiment with a balloon and a plastic bottle. First, draw a face on the balloon, so that when it expands you will have a funny face or monster face on your project. The rest of the steps are the same, except you are placing the baking soda in the balloon, and carefully attaching it to the top of the water bottle. The reaction will be the same as well- the balloon will magically inflate on its own! The Children’s Museum of Indianapolis shared a video of this version of the experiment: Monster Balloon Experiment. Another resource for this experiment comes from Scholastic: Fizzy Balloon Experiment
How does it work?
Lemon juice is acidic and baking soda is a base, and when acids and bases mix together, they fizz up! You created a chemical reaction inside the cup: you mixed together a liquid and a solid, and released a gas: carbon dioxide. When you add the baking soda to the lemon juice the gas starts to move out of the cup, but the glove is blocking it from escaping. The glove inflates from the gas, and will stay inflated while the reaction continues to happen. This experiment is fun because you can “see” the gas that’s created by trapping it inside the glove. Usually, we can’t see the gas that is released from a baking soda and vinegar (or lemon juice) experiment.
Fizzy Pumpkin Art
Materials:
- Tray or placemat to work on
- Orange food coloring or liquid watercolor (mix yellow and red to make orange if needed)
- Lemon juice or vinegar
- Baking soda
- Pipette or spoon
- Pumpkin template- or draw your own with a permanent marker- works best on cardstock. Here are a few free printable pumpkin templates from FirstPallete.com: Medium Sized Pumpkin Template, Large Pumpkin Template
Set Up:
Place the pumpkin template on the tray or work surface. If you would like, use a permanent marker to draw a jack-o-lantern face on the pumpkin. Pour the lemon juice or vinegar into a cup and add the orange food coloring. If you do not have orange, mix red and yellow food coloring together to make it. Keep in mind that the color will become lighter when it mixes with the white baking soda. Spread a light layer of baking soda over the pumpkin image.
Activity Instructions:
- Once everything is set up, use the pipette to add lemon juice to the pumpkin picture
- You should see the baking soda on the pumpkin starting to fizz up! Continue to add lemon juice or vinegar until the fizzing stops
- Let your project dry, and it will become a nice art project. If there is too much liquid on the picture, either use the pipette to remove some, or gently shake it off
- Once dry, you can gently brush off any excess baking soda that is left.
- This activity uses the same ingredients as the experiment, and the chemical reaction is the same. The only difference is that we added some color to the lemon juice or vinegar, so just keep in mind that this will need more clean up, and that food coloring may stain surfaces or clothing.
Spooky Science: Bat Rockets
by Colie Haahr, CMNH Educator
We did a mini rocket experiment for this Spooky Science video, and made a bat straw rocket. You can try both at home! For the mini bat rocket, it's important to have supervision and assistance from a grown up. This experiment uses medicine, and children should not try this without help from a grown up.
Bat Rocket Experiment:
Materials needed:
- Alka seltzer or similar effervescent medicine
- A film canister with a tight fitting lid
- Water
- Optional: a bat to add to your rocket. We used a laminated picture in the video
Set up:
Set up outside or use a tray indoors in an area that's easy to clean up
Experiment:
This experiment happens quickly! So make sure all eyes are on the rocket once the ingredients are inside.
Break off a piece of the alka seltzer and place it inside the film canister. Add water filling the container less than half way. Quickly replace the lid of the canister, and flip it over so that the lid is on the ground (or tray). Wait less than a minute, and the canister will launch into the air!
How does it work?
The alka seltzer mixes with water and creates bubbles. Another way to describe it is that a solid and a liquid mix together and create a gas. In the small canister there is only so much space for the water and the bubbles to fit, so the pressure from the bubbles pushes the canister up into the air! The bubbles are carbon dioxide gas, and as the gas is trying to escape and has nowhere to go, it pushes the lid off of the canister. Since the canister was placed upside down, the canister flies up into the air rather than the lid just flying off (that will happen if the canister is placed right side up!). This experiment is similar to a baking soda and vinegar experiment, and that's because some of the same ingredients are in the alka seltzer- citric acid and sodium bicarbonate.
Bat Straw Rocket Activity:
For a less messy version of bat rocket fun, try making a bat straw rocket!
Materials needed:
- Cardstock
- Bat template
- Pipette
- Tape
- Scissors
- Straw
Instructions:
- First, print the bat template on the cardstock, or use a permanent marker to draw a bat
- Color the bat in with markers or crayons, and cut it out
- Cut a pipette so that the larger end can be used for the rocket (the part you squeeze)
- Tape the pipette piece onto the back of the bat cut out
- Place the pipette piece onto a straw- this can be a reusable straw, paper straw, or plastic straw
- Blow into the straw with is angles slightly upward- the bat should "fly" off of the straw
How does it work?
The pipette piece is closed off at the top, so when you blow into the straw, the air has nowhere to go. The pressure from blowing into the straw makes the bat fly off the straw, and go through the air for a bit!
We first learned about this activity from Bug and Buddy, and they have a free printable bat template that can be used for this project. There are also some great pictures of the process to make the rockets, and a video. See the link in the reference section below! This activity involves pressure and forces similar to the bat rocket experiment, but it is less messy and can be tried over and over again. Have fun!
References:
https://www.imaginationstationtoledo.org/education-resources/diy-activities/alka-seltzer-rockets/
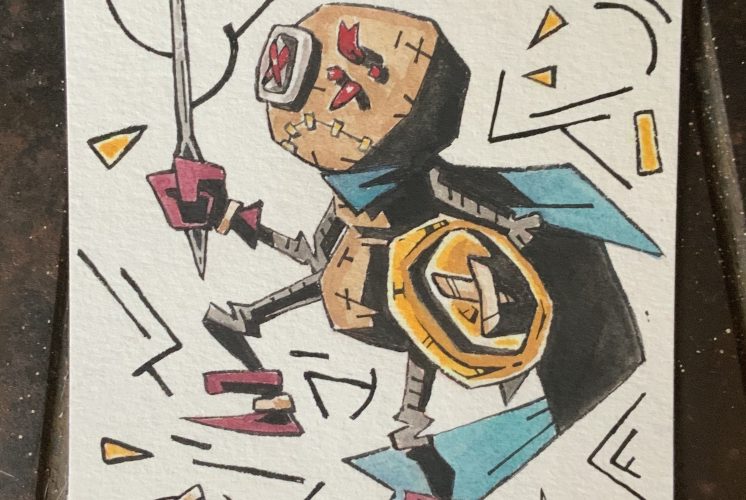
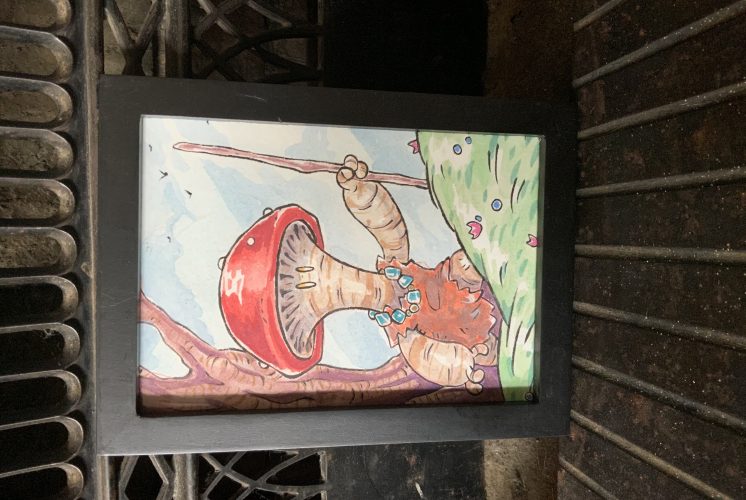
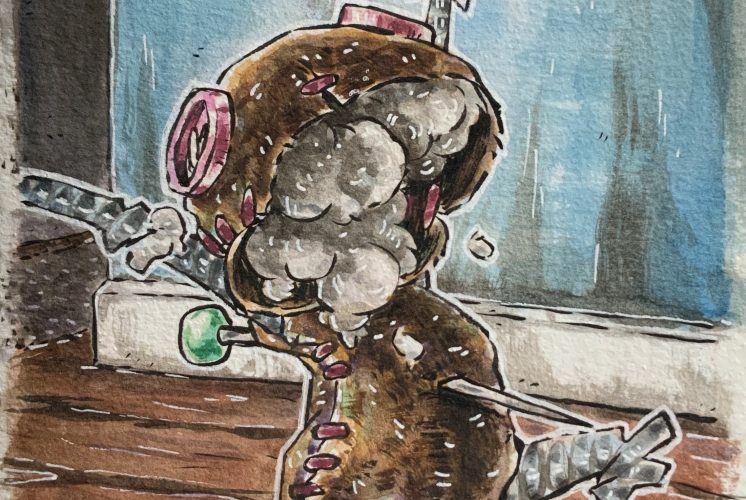
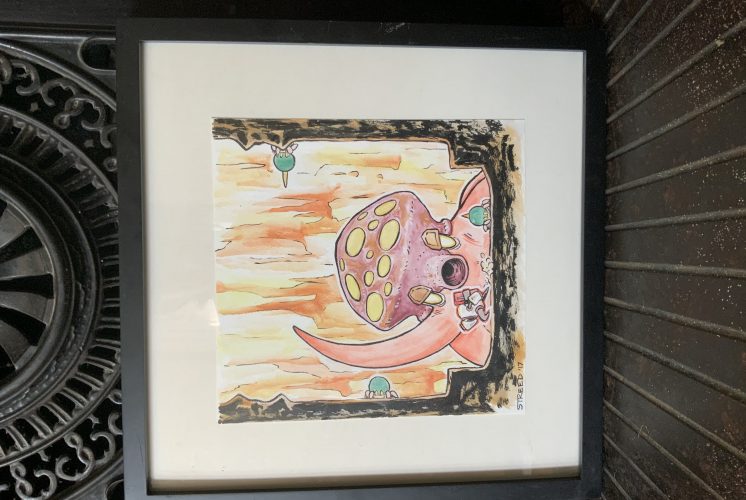
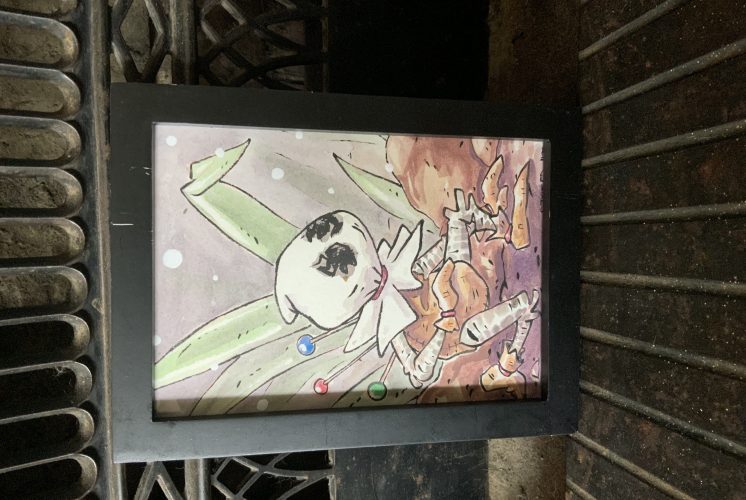
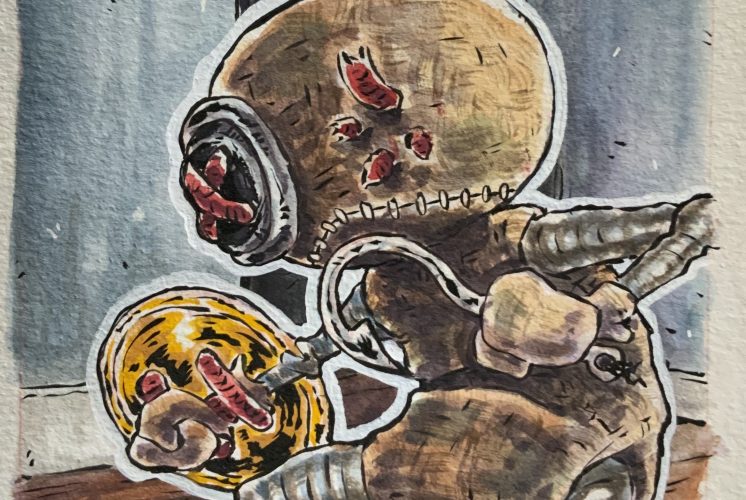
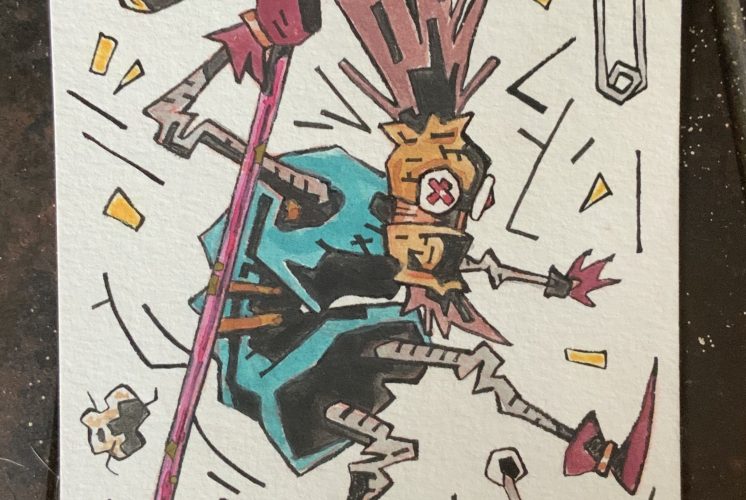
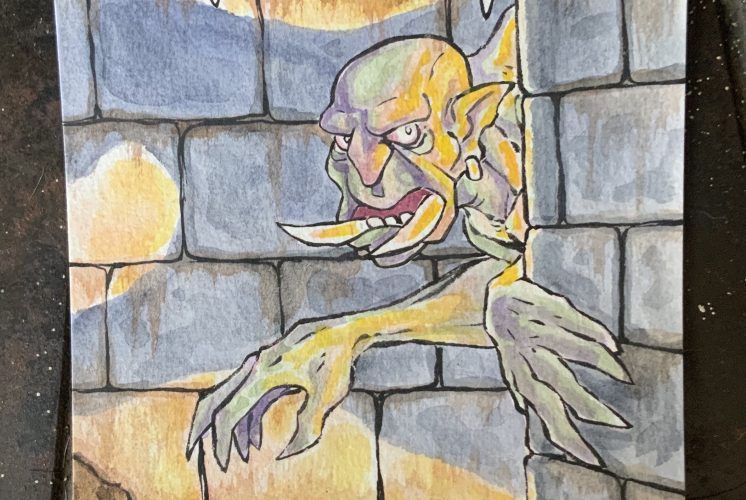
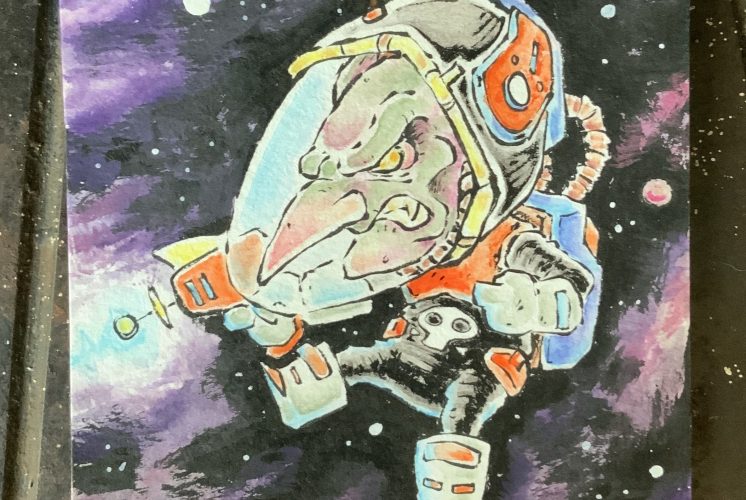
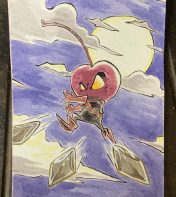
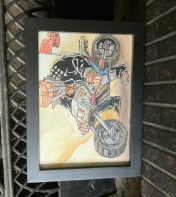
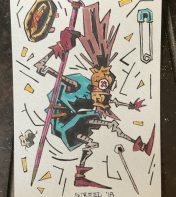
Witchway Games & Eric Streed
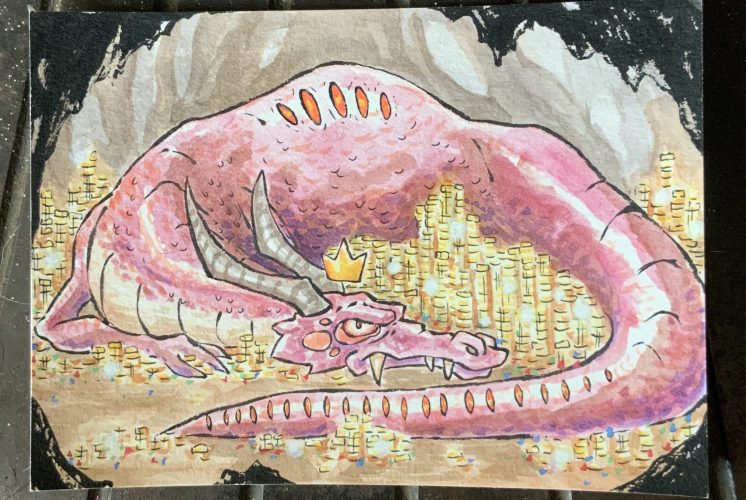
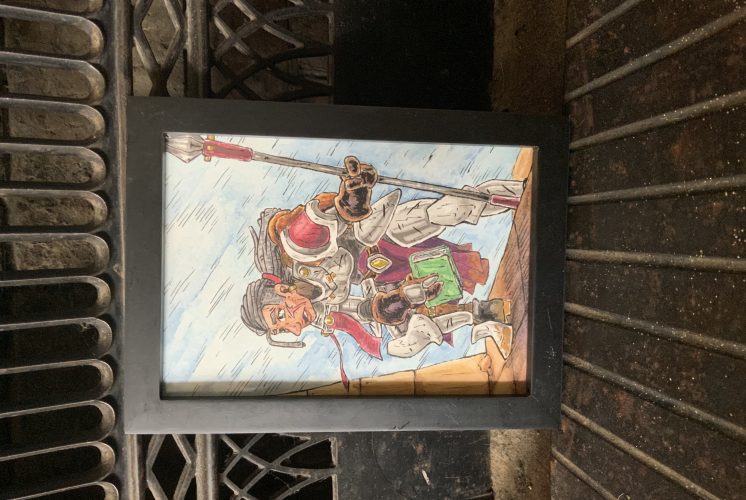
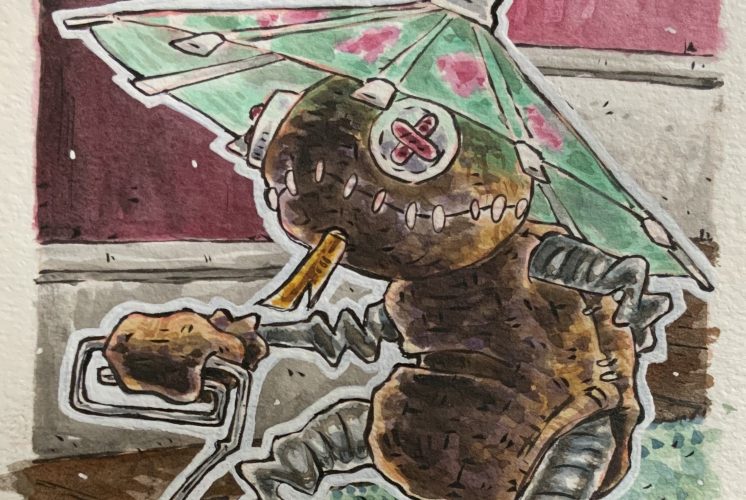
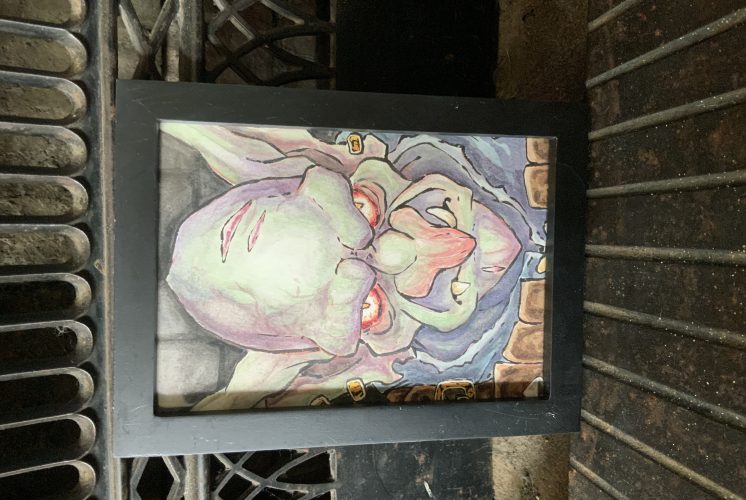
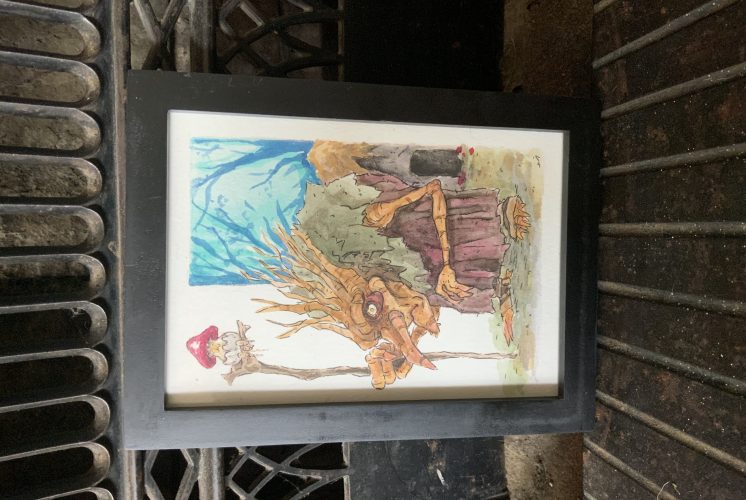
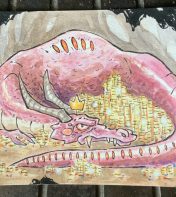
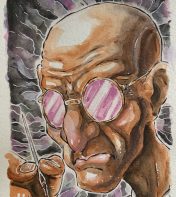
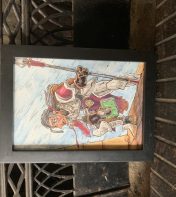
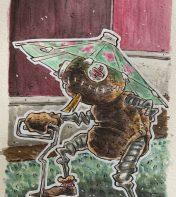
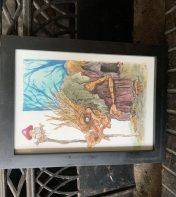
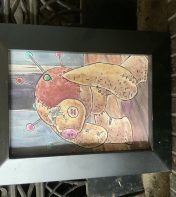
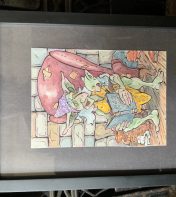
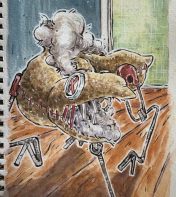
Q&A with Artist and Game Designer Eric Streed
Q. How do you start making board games?=
A. I would start by playing lots of different board games! Find out what kind of games you like, and what about those games you enjoy. Is it the theme? Do you like drafting cards? Do you like worker placement? What parts of those game maximize on that sort or play?
After you’ve started thinking about those questions, start small. Make an “expansion” to a game you already know and love. Change a rules set, or get some cheap custom cards made for it. See how the rules you change or the elements you implement add to or subtract from the game.
Game design is a skill that takes practice to get better at, your first game is not going to be perfect. Instead of perfect, focus on “Done”. The artist Jake Parker spreads the message “finished, not perfect”. This idea encourages to complete a project, and then start the next one and make it even better. Consider the table presence of the game you want to make, think of that peak moment you want to give a player, and build towards that.
Q. How did you start making board games?
A. I went to school for art, focusing on video game design. I worked for animation studios and on independent video games for a while but found the process slow and unfulfilling. I ended up co-founding a small company a few years after college and got involved making board games and immediately saw a shift. I could quickly hold my game in my hands and play it with other people. The efficiency, community, and tactile nature of board and card games really rekindled my love of game design.
Q. What is the hardest part of making board games?
A. For me the hardest part of game design is iterating. I get an idea, work with people to iron out the details, do the art for the game, get a prototype made up, and start playtesting, only to start finding issues in the design. This is a super normal part of the design process, no game is going to work perfectly right out the gate. This is the piece of the puzzle that gets very granular though, where you are fiddling with numbers, changing rules occasionally, altering the setup and win conditions. This is a crucial piece of the design process, but its also challenging as it also takes the most time.
Q. What resources are there out there for aspiring board game designers?
A. There are lots of great resources for game designers out there! There are social media groups, there are cheap game design kits available online, I’ve even hand cut cards and drawn on them for perfectly functional prototypes. After you have spent a little time making some handmade prototypes or printing some small assets for an expansion to a game you like, using a company like The Game Crafter is a great way to step up your designs and create some really beautiful production quality copies of your game.